Starting Point: What You Find at an Estate Sale
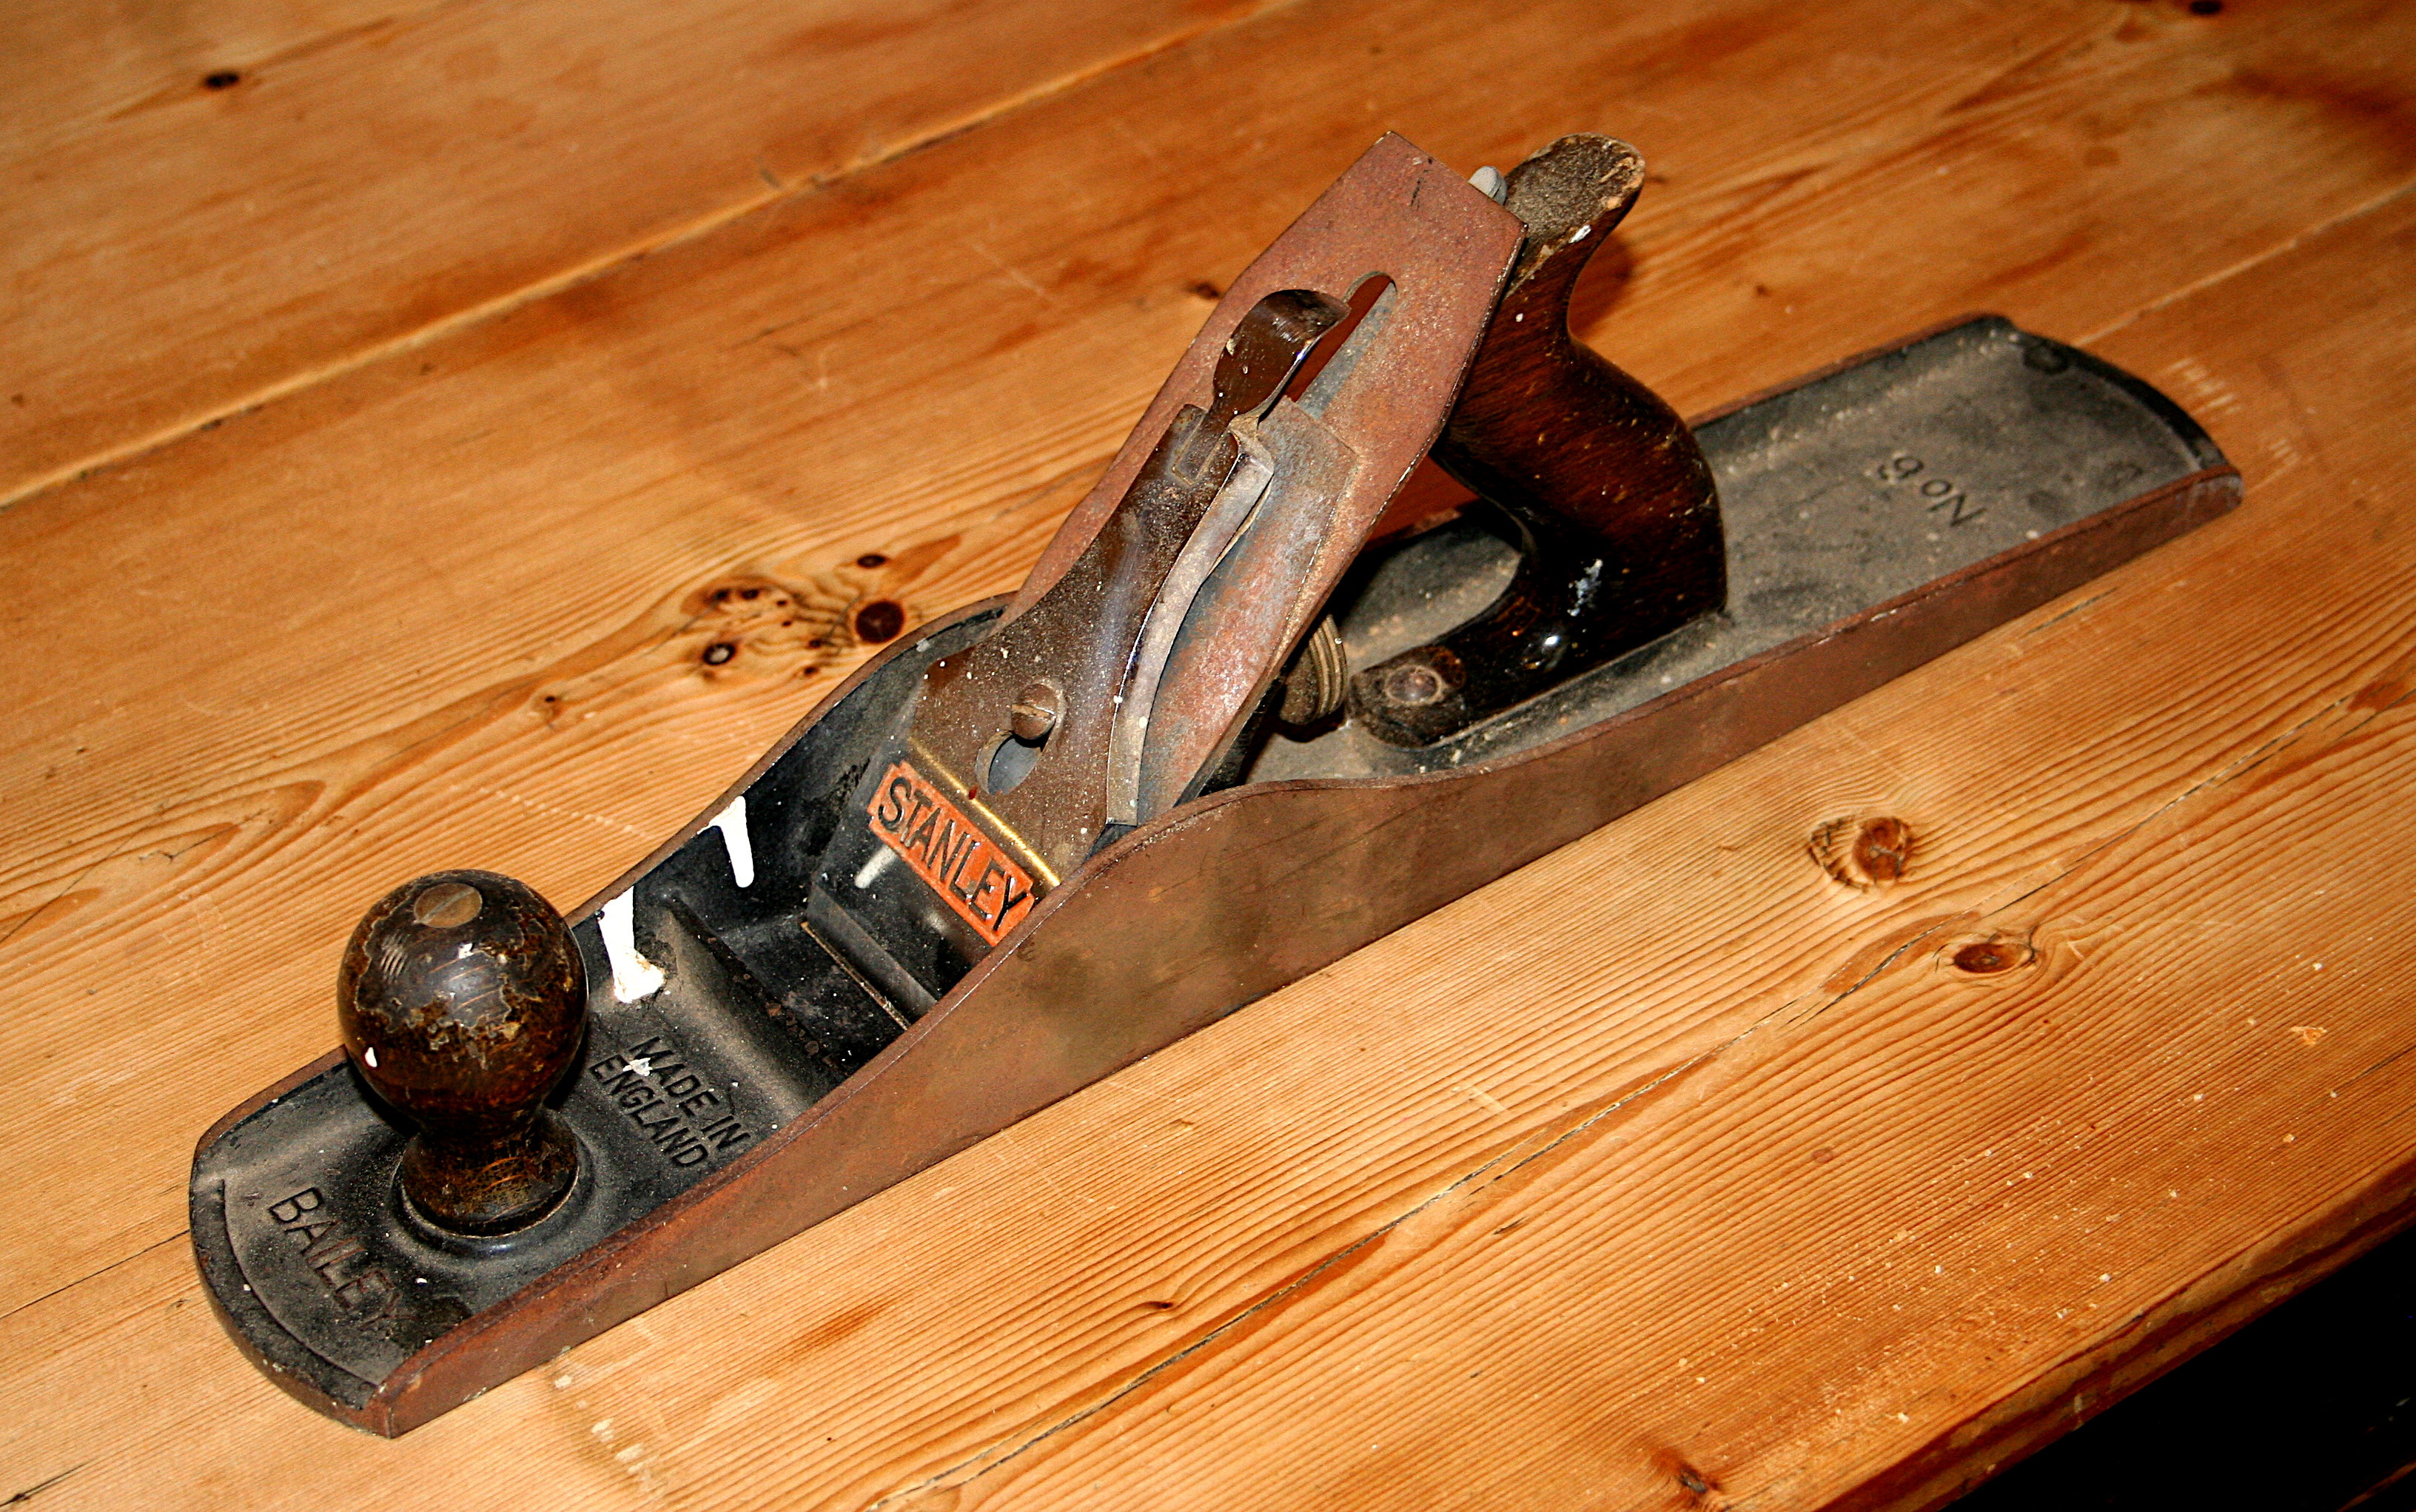
Hand planes surface regularly at Ontario and Quebec estate sales, often priced between $5 and $30 depending on whether the seller recognises what they have. A Stanley No.6 Fore Plane from the interwar period is a common find — long enough to flatten wider boards, heavy enough to feel deliberate in the hand.
Before spending time on restoration, it is worth understanding what you have. Stanley produced bench planes continuously from the 1870s through the 20th century. Production dates can be approximated from the Stanley tool type study maintained by Patrick Leach — examining the frog design, lateral lever casting, and knob profile narrows the decade.

Tools and Materials
The following is what was used during this particular restoration. Substitutions are possible at most stages.
- Screwdrivers — flat, medium and small
- Wire brush, medium grade
- Naval Jelly (phosphoric acid gel) or Evapo-Rust
- Flat reference surface — a piece of float glass works well
- Wet-dry sandpaper: 80, 120, 220 grit
- Water stones or diamond plates: 220, 1000, 4000, 8000 grit
- Camellia oil or paste wax (Renaissance Wax is available from most Canadian conservation suppliers)
- Leather strop loaded with green compound
Disassembly
Work in order. Remove the lever cap first — the cam presses down and the cap slides forward. Set it aside. Lift out the chipbreaker and iron together, then separate them by backing off the chipbreaker screw. Note how the chipbreaker sits relative to the cutting edge before separating — roughly 1 mm back from the edge is standard for most softwood work.
Remove the frog by loosening the two frog-mounting screws visible through the plane body. On some Stanley castings these are accessible from below; on others you remove the front knob first to reach them. The frog should lift clear without forcing.
Note on frozen screws: If the depth-adjustment brass nut is seized, penetrating oil left overnight usually frees it. Avoid applying heat — the casting is grey iron and brittle under thermal shock.
Rust Removal from the Body
Surface rust on cast iron responds well to phosphoric acid. Naval Jelly, applied with a brush and left for 20–30 minutes, converts rust to iron phosphate — a grey, stable compound that can be wiped away. The casting is then rinsed with water and dried immediately.
Pitting from deeper rust does not disappear, but it stops progressing once the active rust is gone. For the sole, surface finish matters more than cosmetics — a flat, smooth sole registers the work correctly.
Flattening the Sole
This is the step that most determines how the plane performs. The sole must be flat in the areas that contact the workpiece: the toe, heel, and the narrow strip immediately in front of the mouth.
Tension the plane body
Reassemble the frog and iron loosely, and tension the lever cap as you would for use. The body distorts slightly when assembled; checking flatness without tension gives misleading results.
Mark the sole with a felt pen
Coat the sole evenly with a permanent marker. When you rub the plane on the abrasive surface, the ink wipes from high spots and persists in low areas, showing where material remains.
Work through grits on flat glass
Start at 80 grit wet-dry sandpaper on the glass reference. Use long, even strokes. Check progress with the felt-pen test every few minutes. Move to 120, then 220 once the critical zones show consistent contact.
Protect with wax or oil
A thin coat of paste wax on the sole reduces friction during use and prevents rust from returning. Buff it off before the plane goes into service.
Sharpening the Iron
A restored plane with a dull iron accomplishes nothing. The iron from a Stanley No.6 is typically 2 inches wide with a 25° primary bevel, to which most woodworkers add a 30° micro-bevel at the edge. Full sharpening process is covered separately in the sharpening article.
Reassembly and First Test
Set the chipbreaker 1 mm back from the cutting edge, slide both into the frog, and seat the lever cap. Adjust the iron laterally until it projects evenly across the mouth — the lateral adjustment lever controls this. Back the iron up slightly, then advance it with the depth wheel until a thin shaving appears on softwood.
A correctly set plane on pine or spruce — common in Canadian framing stock — produces a continuous, thin shaving without tearing. If the shaving tears, the iron may need further sharpening, or the chipbreaker may be set too far back.
Storage
Retract the iron so it sits above the sole when stored. A light coat of camellia oil on all metal surfaces before seasonal storage prevents rust in humid conditions — a concern in workshop spaces that are not heated through a Canadian winter.
Next: Sharpening Chisels and Plane Irons — the full stone sequence for bench plane irons and bevel-edge chisels.